Five Tools, Five Rules, Same Chart
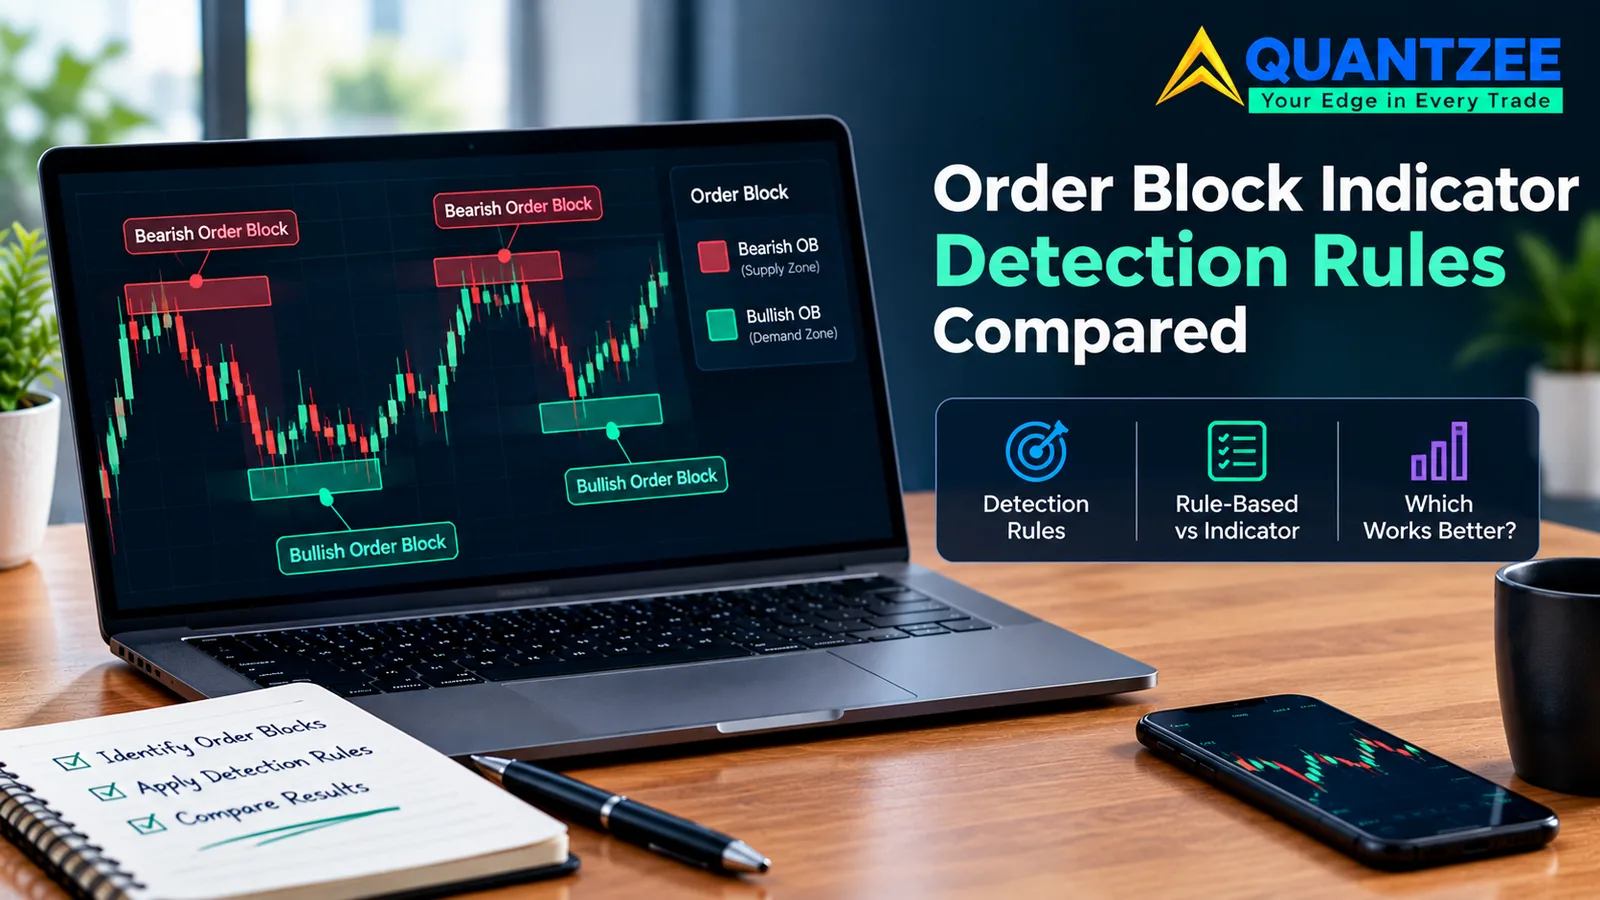
Open the script directory, pull up three different order block indicators, and drop all three on the same fifteen-minute chart. According to the vendor pages behind each one, you are looking at the same concept. You are not. An order block indicator is not one algorithm wearing different skins — it is at least five distinct detection rules, each coded by a different team, each anchored to a different candle, and each willing to draw a box where the others draw nothing at all.
The existing order blocks guide on this site already covers the rule-based identification method in detail — what a block is, why institutions supposedly leave one behind, and how to read it on a clean chart. This post does not repeat that. It answers a narrower, more useful question: when your order block indicator draws a box, which of the five rules just fired, and what does that rule assume that the other four do not?
That matters because the box is not neutral. It sets your stop. It sets your entry zone — and the order-block concept it's trying to detect is one piece of the wider framework in our Smart Money Concepts guide. And if the rule behind it is the kind that can only confirm itself after price has already moved 40 or 50 candles past the event, the box you are staring at right now may be one your charting software could not have drawn in real time.
The Five Detection Rules Actually in Use
Pull the public documentation from three vendors — AlgoAlpha, ATAS, and LuxAlgo — plus the two structural variants that show up across smaller scripts, and five distinct rules emerge. Each is written below as a condition you could code, not a description.
- Last opposite candle before a structural break. AlgoAlpha's method, per the vendor's own blog, flags the final candle moving against the dominant direction immediately before a break of a marked swing level. One opposing candle, one break, one block.
- Last opposite candle before qualitative displacement. This is ATAS's approach: the last candle against the move before price shows "clear displacement" — but the vendor does not define a numeric threshold for clear. No body-size multiple, no ATR filter, no candle count. The rule is the trader's eye, encoded as a label.
- Fractal middle-candle extreme. A three-candle fractal where the middle candle's high or low is the most extreme of the three, used as the block boundary regardless of what happens afterward. This variant does not require a confirmed break of structure at all — it fires on the fractal shape alone.
- Earliest candle trading through a volume point of control. A volume-profile hybrid: instead of anchoring to the last opposing candle, it walks backward to the earliest candle in the sequence that traded through the session's or range's point of control, treating that candle — not the most recent one — as the block.
- Raw volume peak. The simplest and least discriminating rule: whichever candle in a lookback window carries the highest volume print becomes the block, independent of direction, structure, or displacement. It finds a candle every time, which is exactly the problem — it finds one even when nothing resembling an order block actually occurred.
LuxAlgo's library entry is the one vendor page that comes closest to naming the gap. It states the last-candle-against-the-move rule plus three validation conditions, and then — in a single sentence — acknowledges that drawing conventions vary. It does not go further than that sentence. None of the three vendor pages compares its rule against the other four, and AlgoAlpha states outright, on its own page, that it has no test data behind its version. That is the honest baseline this article is holding itself to: we are not claiming a win rate for any of these five rules, because none of the vendors have published one and neither have we.
The Displacement Problem: "A Strong Move" Means Five Different Things
Rules 1, 2, and 3 above all depend on displacement — the idea that the candle before the move only counts as an order block if the move itself was forceful enough. The trouble is that "forceful enough" is where every vendor quietly diverges.
- One counts displacement by raw candle count: three or more same-direction candles in a row qualifies, regardless of size.
- Another measures body-to-range ratio: a candle with a body occupying 70% or more of its total range counts as displacement, a doji does not.
- A third uses a volatility multiple: the move must exceed 1.5 times the recent average true range to qualify.
- And ATAS, as documented above, uses none of these — "clear displacement" is left to the trader's judgment, which means the same chart can produce a different answer depending on who is looking at it.
This is not a rounding error. On a chart with moderate volatility, the candle-count method and the ATR-multiple method will disagree on roughly one move in four inside any given week, by our own team's read of live charts while building the SMC Toolkit Pro's detection engine. A move that clears a 1.3x ATR threshold but doesn't string together three same-direction candles passes one tool's displacement filter and fails another's — and the order block that follows either exists or does not, depending entirely on which filter your software happens to run.
One Detected Candle, Three Different Boxes
Even after two tools agree on which candle is the block, they can still disagree on where the box's edges sit, because there are three competing drawing conventions:
- Full candle range — wick-to-wick. The widest possible box, and the one most likely to still contain price on a later retest, simply because it covers the most ground.
- Body only — open-to-close. A tighter box that ignores the wicks entirely, producing a smaller zone and, usually, a tighter stop if you trade against its edge.
- A midpoint or 50% threshold — the convention LuxAlgo's library page references directly. The box collapses to the candle's halfway point, treating only the near half of the range as "the" order block.
Three conventions, three box sizes, three different stop distances from the exact same candle. If you have ever moved an order block indicator from one chart template to another and watched your risk-per-trade change without touching your position size, this is almost certainly why — the new script drew the same candle a different way.
Repainting: Which Rules Can Only Draw the Block After the Fact
This is the part most vendor pages skip entirely, and it is the one that costs traders money if they miss it. A rule anchored to a confirmed break of structure — rules 1 and 2 above — can only mark its block once that break has actually happened. That means the box you see on candle 40 might represent a break that was confirmed on candle 55. Your charting platform drew it retroactively and placed it at candle 40 because that's where the order block "belongs" conceptually, but it did not exist on your screen, in that position, at candle 40 in real time.
The fractal rule (3) and the volume point-of-control rule (4) behave differently. A three-candle fractal confirms on the candle immediately after the middle one — a short, fixed lag, not an open-ended wait for a structural break that might take dozens of candles to arrive. The raw volume-peak rule (5) can repaint within its lookback window every time a new high-volume candle prints, which means the box can move entirely, not just appear late.
This site's own repaint-test method, documented here, walks through the three-step check in full. In short: load the indicator on a chart, step forward bar by bar using the platform's replay mode, and note the bar index where each box first appears versus the bar index it is anchored to. If those two numbers don't match, the rule behind that box can only draw it after the fact — and you were trading a box that wasn't there yet.
Invalidation and Mitigation: Wick, Close, or Halfway?
The five detection rules disagree on how a block dies, too. Three invalidation conventions show up across the tools we reviewed:
- Wick invalidation — the block is dead the moment any wick pierces it, even if the candle closes back outside.
- Close invalidation — the block only dies on a candle body closing fully through it; a wick that pokes through and closes back out leaves the block intact.
- 50% mitigation — borrowed from the same midpoint logic as the drawing convention above: once price has traded through half the box, the block is treated as "mitigated" and functionally spent, whether or not it's technically invalidated.
Mixing a wick-invalidation mindset with a close-invalidation tool is one of the more common, least discussed ways traders get stopped out on a level their indicator insists is still valid. Check which convention your tool uses before you lean on a block for a stop placement, not after.
A Walk-Through: Same Candles, Different Boxes
Here is an illustrative sequence, not a captured backtest, to show how this plays out mechanically. Picture six 15-minute candles: two quiet dojis, then a strong down candle with a body covering roughly 80% of its range, followed by three more candles pushing lower before a break of the prior swing low confirms on the sixth candle.
The AlgoAlpha-style rule (1) waits for that sixth-candle break. It then walks back and marks the third candle — the last up candle before the down move — as the block. The ATAS-style rule (2) does the same in this case, because the move is unambiguous. On a messier sequence with no 80%-body candle, though, rule 2 and rule 1 could easily pick different candles, since one has a numeric filter and the other doesn't. The fractal rule (3) never waits for the break at all. If candle three's high happens to be the extreme of candles two through four, it marks the block the moment candle four closes — two candles earlier than rules 1 and 2. The volume point-of-control rule (4) ignores all of this. It asks a different question entirely: which candle in the sequence first traded through the session's volume point of control? That could be candle one, candle three, or candle five, depending on where the point of control actually sits that session. It has nothing to do with the structural break.
Why This Keeps Happening: Five Teams, No Shared Standard
None of this is a bug in any single script. It's a side effect of how the order block concept spread. The term moved from trading-room shorthand into public indicator code over roughly a decade, picked up independently by vendors who never agreed on a shared specification. AlgoAlpha coded its version first for its own user base. ATAS built its version for a different platform, with different defaults, two or three years later. LuxAlgo's library entry arrived still later, as a reference implementation meant to summarize the concept — and even that page, written to be the neutral summary, only manages one sentence acknowledging that drawing conventions vary before moving on.
The result, nine or ten years into the concept's public life, is a word that means five things depending on which script you loaded. That's not a reason to abandon the concept. Displacement, structural breaks, and point-of-control reactions are observable, repeatable price behaviors — it's a reason to stop assuming your indicator's label matches your neighbor's indicator's label just because both say "order block" in the settings menu.
Four rules, running on the same six candles, and at least three different answers for which candle is "the" order block — before anyone has even gotten to the drawing convention that decides the box's edges. That is the comparison this article exists to make, and it is why naming the rule behind your indicator matters more than memorizing the word "order block."
The Five-Minute Interrogation Checklist
Before you trust any order block tool with a live position, run it through these five questions:
- Does the box only appear after a confirmed structural break, or does it appear immediately on a fractal shape or a volume spike? Time how many candles pass between the triggering candle and the box's first appearance on your chart in replay mode.
- Does the box move or resize if you switch the drawing convention in settings, if that option exists? If changing "body only" to "full range" shifts your stop distance by more than a few ticks, you now know which convention the default was using.
- Does the box survive a wick through it, or does one touch kill it? Pull up three historical retests and watch what the software does on each.
- What displacement filter, if any, gates the rule — candle count, body ratio, an ATR multiple, or nothing? If the vendor documentation doesn't say, assume "nothing" and treat every signal with extra scrutiny.
- Can you reproduce the same box, at the same bar, in replay mode as you see on the live chart? If the bar index of first appearance doesn't match the bar index it's anchored to, the rule repaints.
Run this once per tool, not once per chart — the answers are fixed by the rule, not by the instrument.
What None of the Five Rules Can Actually Know
Every one of these five detection rules — ours included — reads candles: open, high, low, close, and volume. None of them reads the order book. None of them knows who transacted, whether the fill was an institutional desk working a large order over two hours or a cluster of retail orders landing in the same fifteen-minute window by coincidence. "Smart money" is the label the industry uses for the inferred actor behind a detected candle, and every one of the five rules above is inferring, not observing. A tool can tell you a candle meets its definition of an order block. No candle-based tool, including this one, can tell you who was actually on the other side of that print.
That's not a reason to discard the concept — displacement and structural breaks are real, observable price behaviors, and market structure you can code covers why they're worth coding at all. It's a reason to stop treating "the indicator marked a block" as equivalent to "a large participant left footprints here." One is a rule firing. The other is a story about the rule.
Frequently Asked Questions
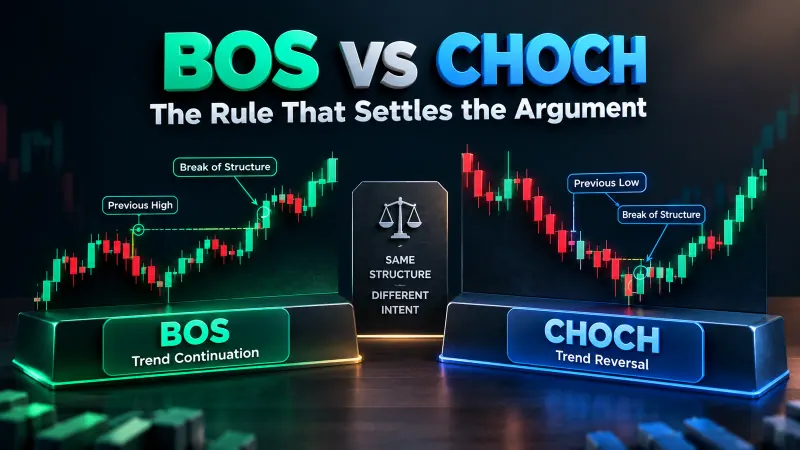
Further reading on the broader mechanics referenced above: displacement, measured instead of eyeballed; break of structure versus change of character; and the wider audit of which smart-money concepts survive a rule test. For the underlying definitions this piece assumes, see the technical analysis overview on Wikipedia and the CMT Association's body of knowledge for how the broader industry defines price-structure analysis outside any single vendor's marketing. For the detection rules named above as vendor-specific, see the source pages directly: AlgoAlpha's order block trading strategy write-up, ATAS's explainer on ICT order blocks and breaker blocks, and LuxAlgo's library entry on the concept. Our own detection-rule documentation lives on the SMC Toolkit Pro product page, where the rule, drawing convention, and invalidation logic the toolkit runs are stated rather than left implicit.